Initial Setup - CX Analytics Suite
This article shall help you with the initial setup of the Customer Experience Analytics Suite and lead you with a minimum of configuration to a functioning installation.
Onboarding
After successfully creating an account and logging into Chatvisor, you should face the app onboarding process:
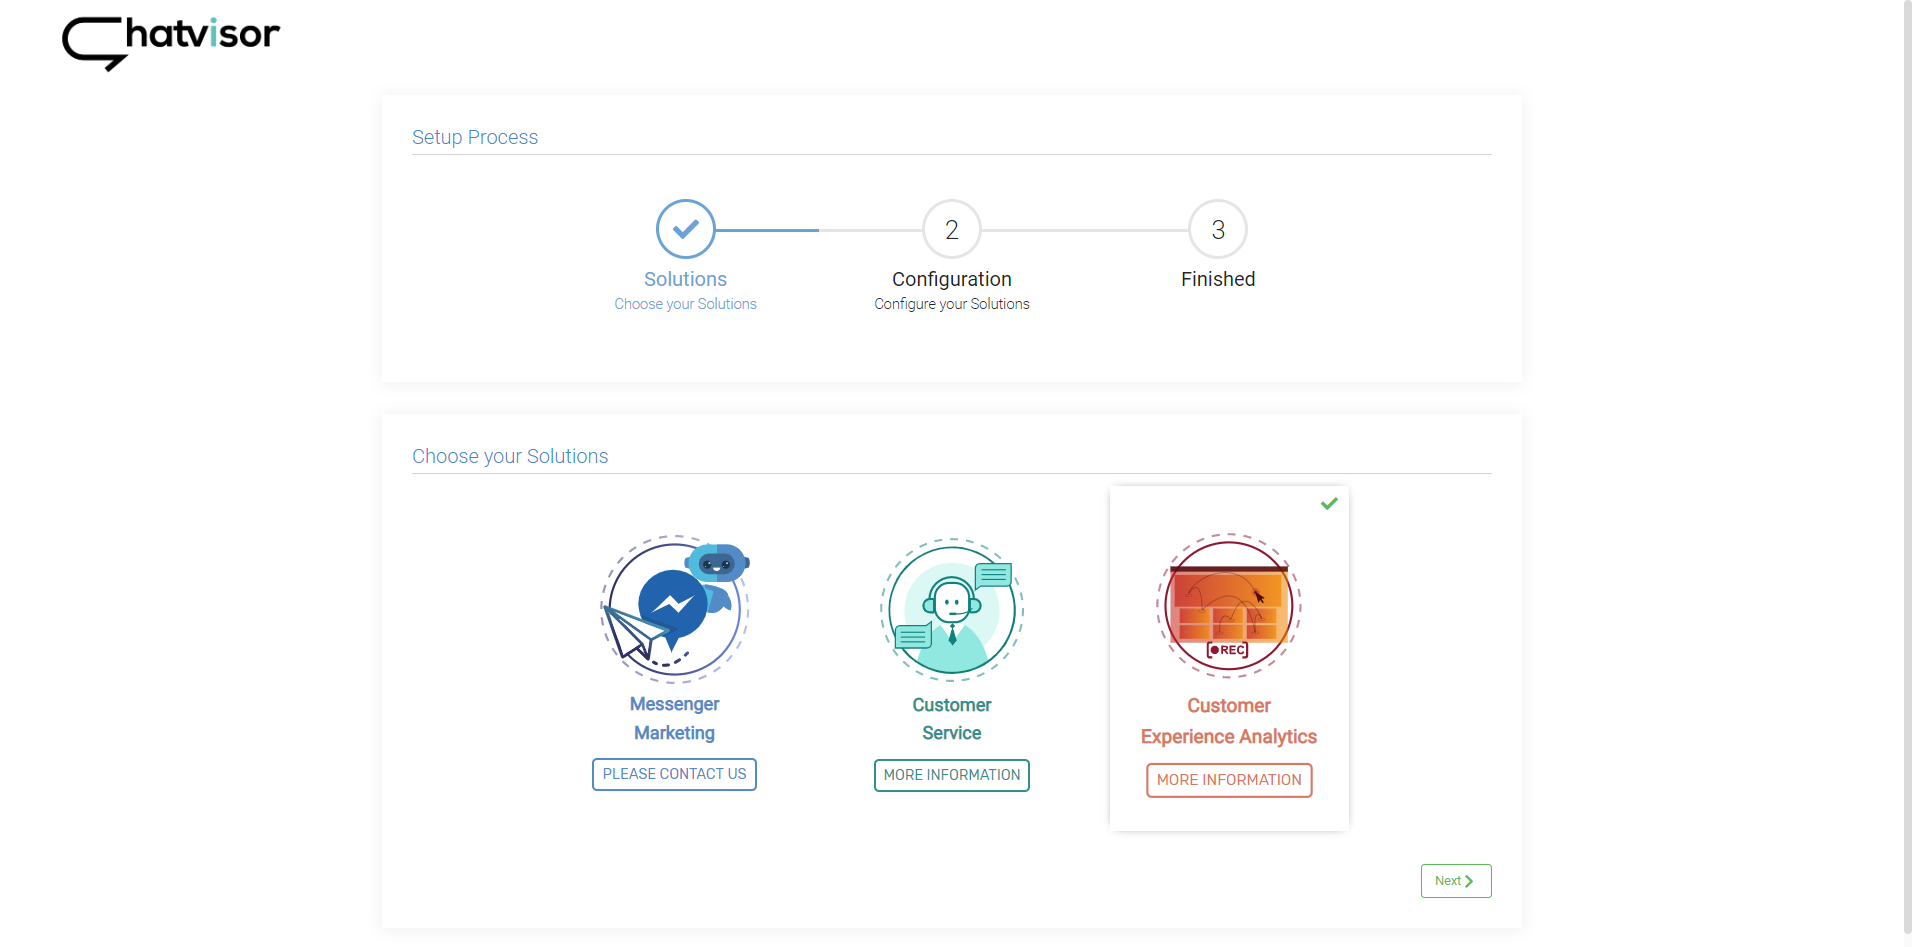
To continue, choose Customer Service and click Next. This will lead you to the module configuration:
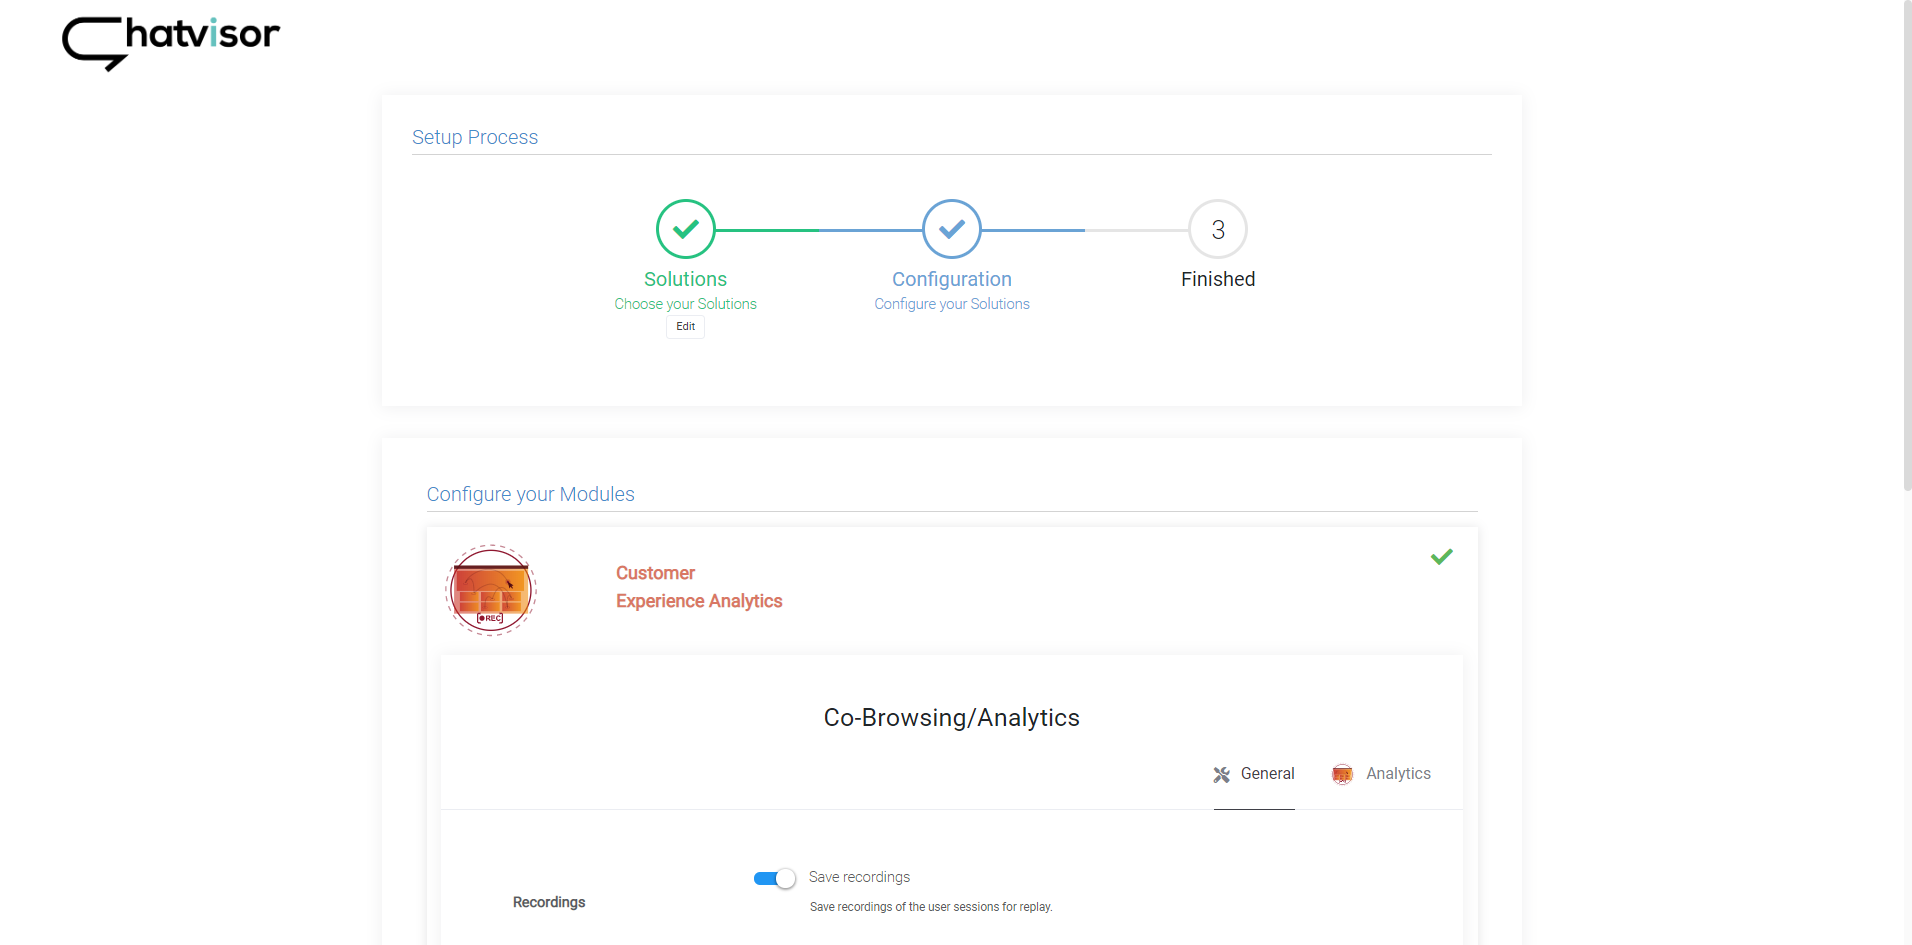
By clicking the Customer Experience Analytics element you can edit the configuration on the spot. To learn more about the configuration options, visit:
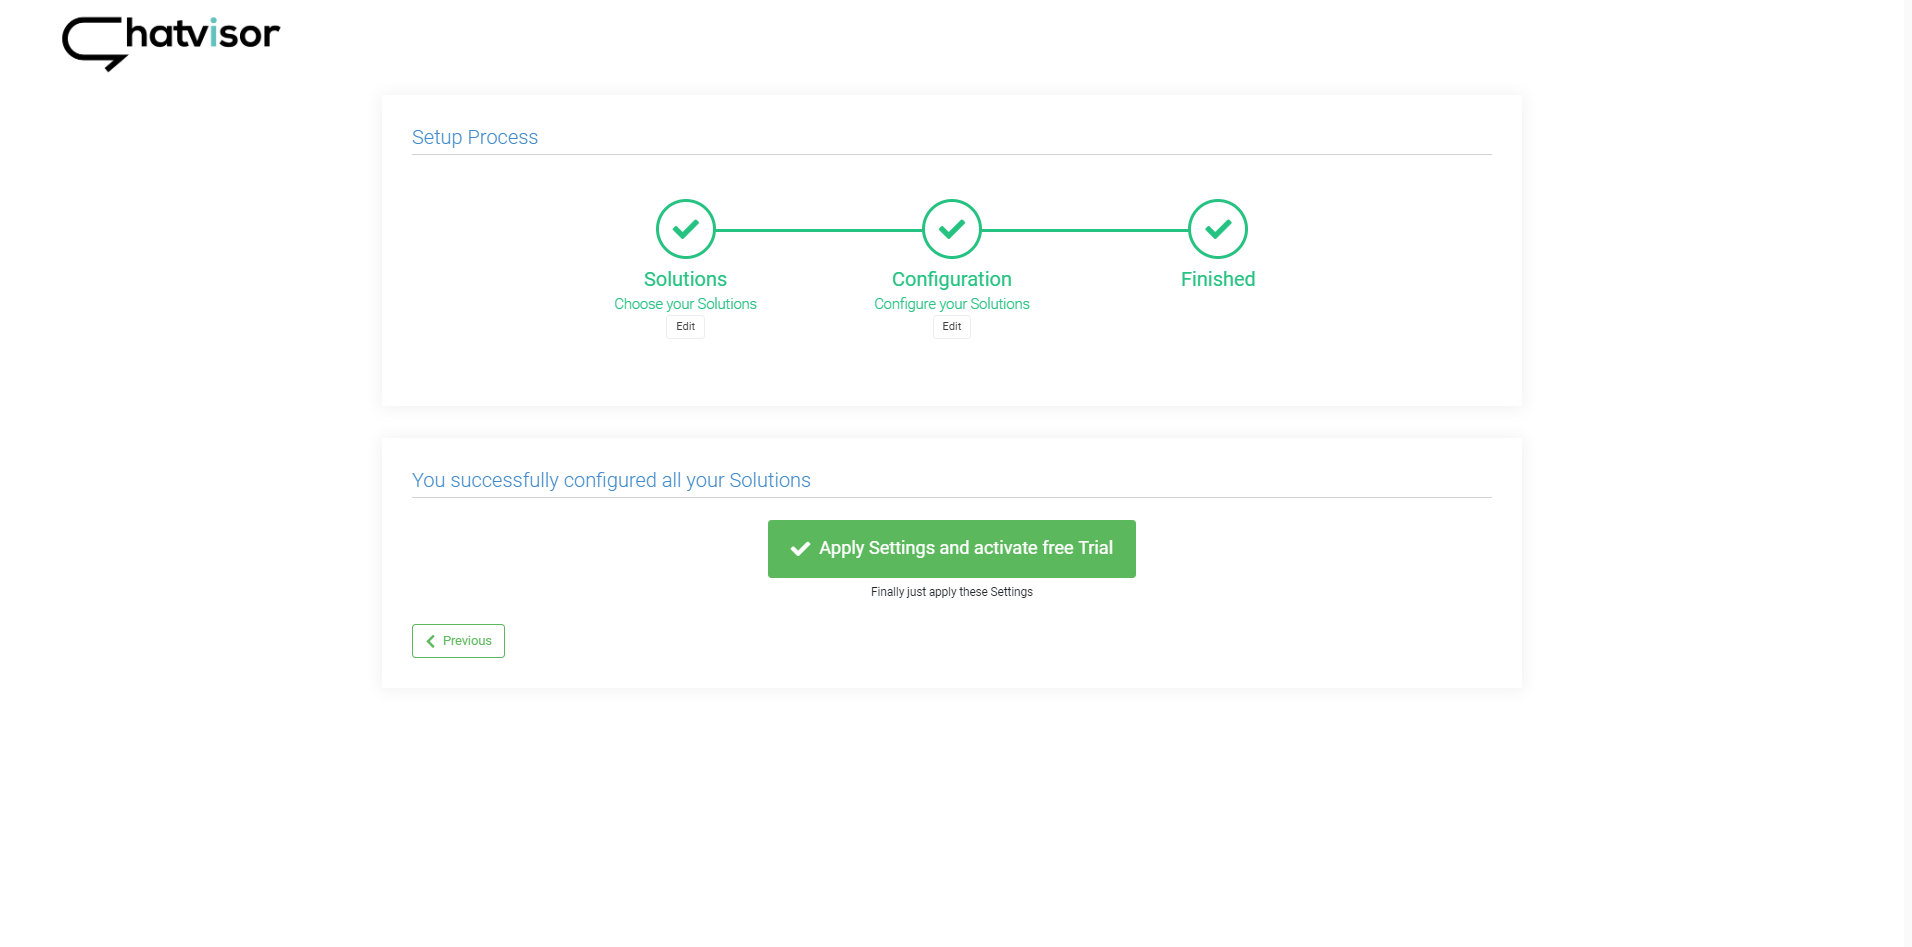
When you’re done configuring each module, click Next to get to following page, where you should apply the previously processed settings:
Now you can set the name of your tenant (usually company name) and add your (company) logo. You can search for your logo using the Facebook Profile Picture search.
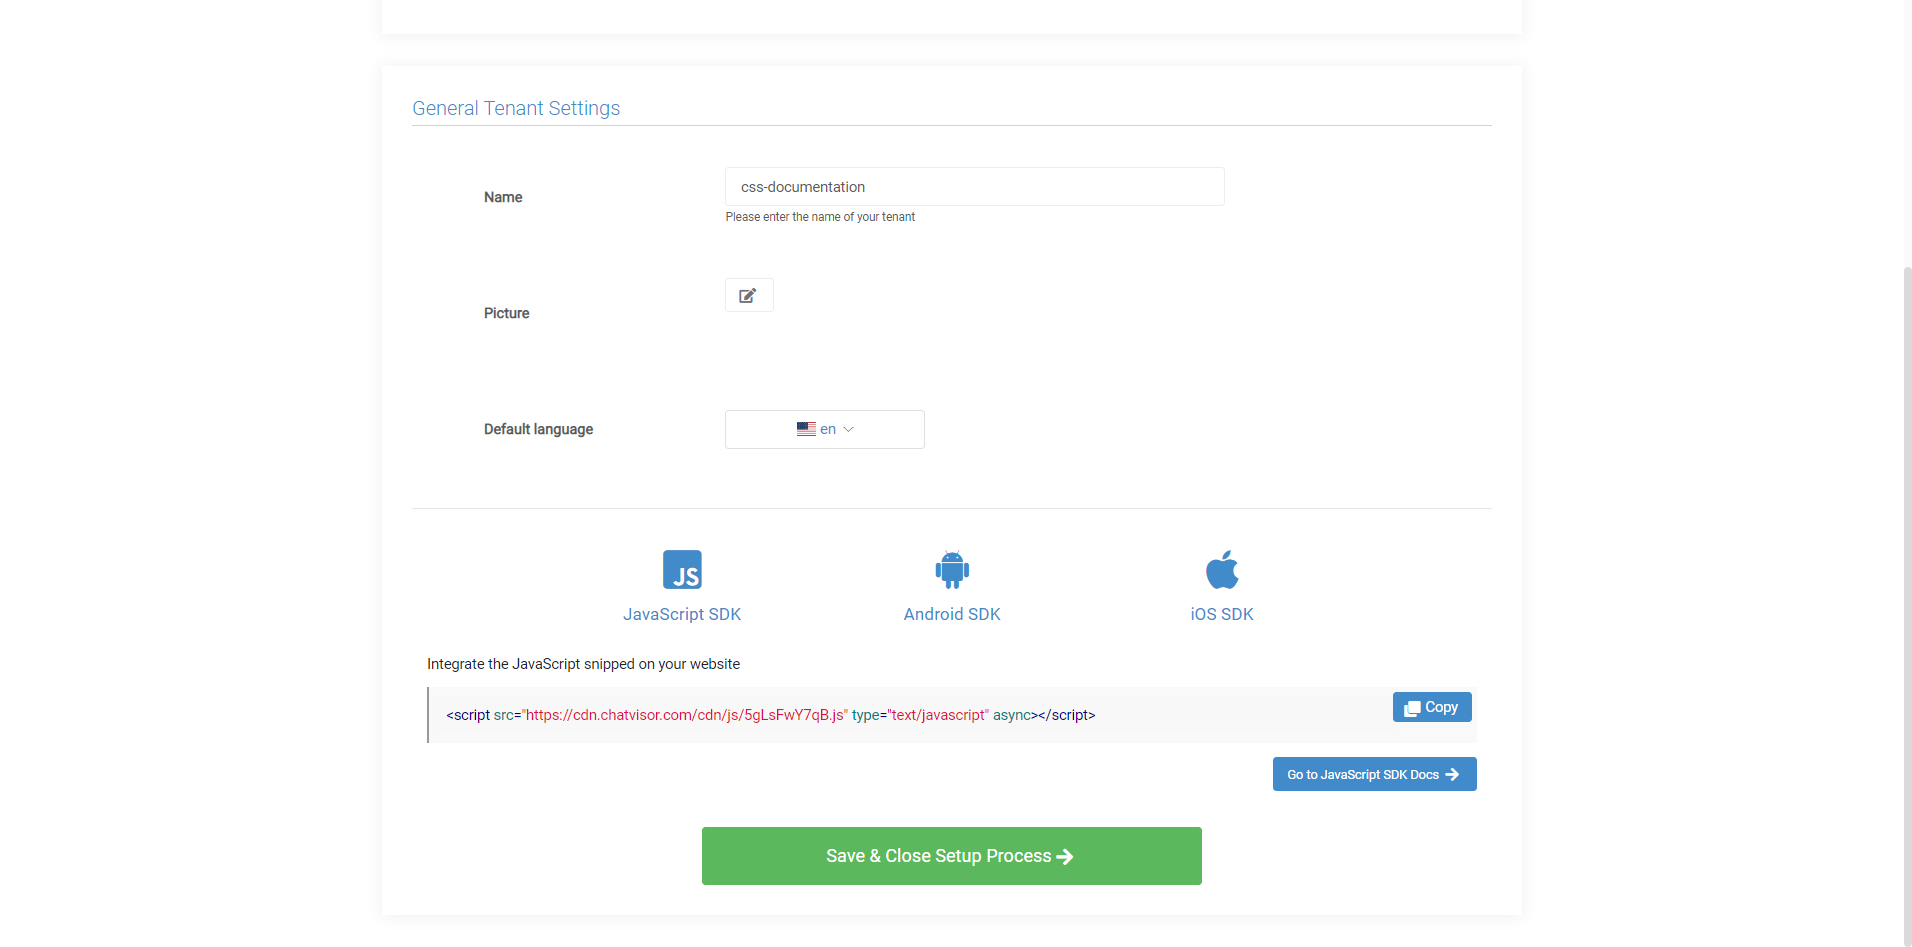
To complete the onboarding process, click Save & Close Setup Process.
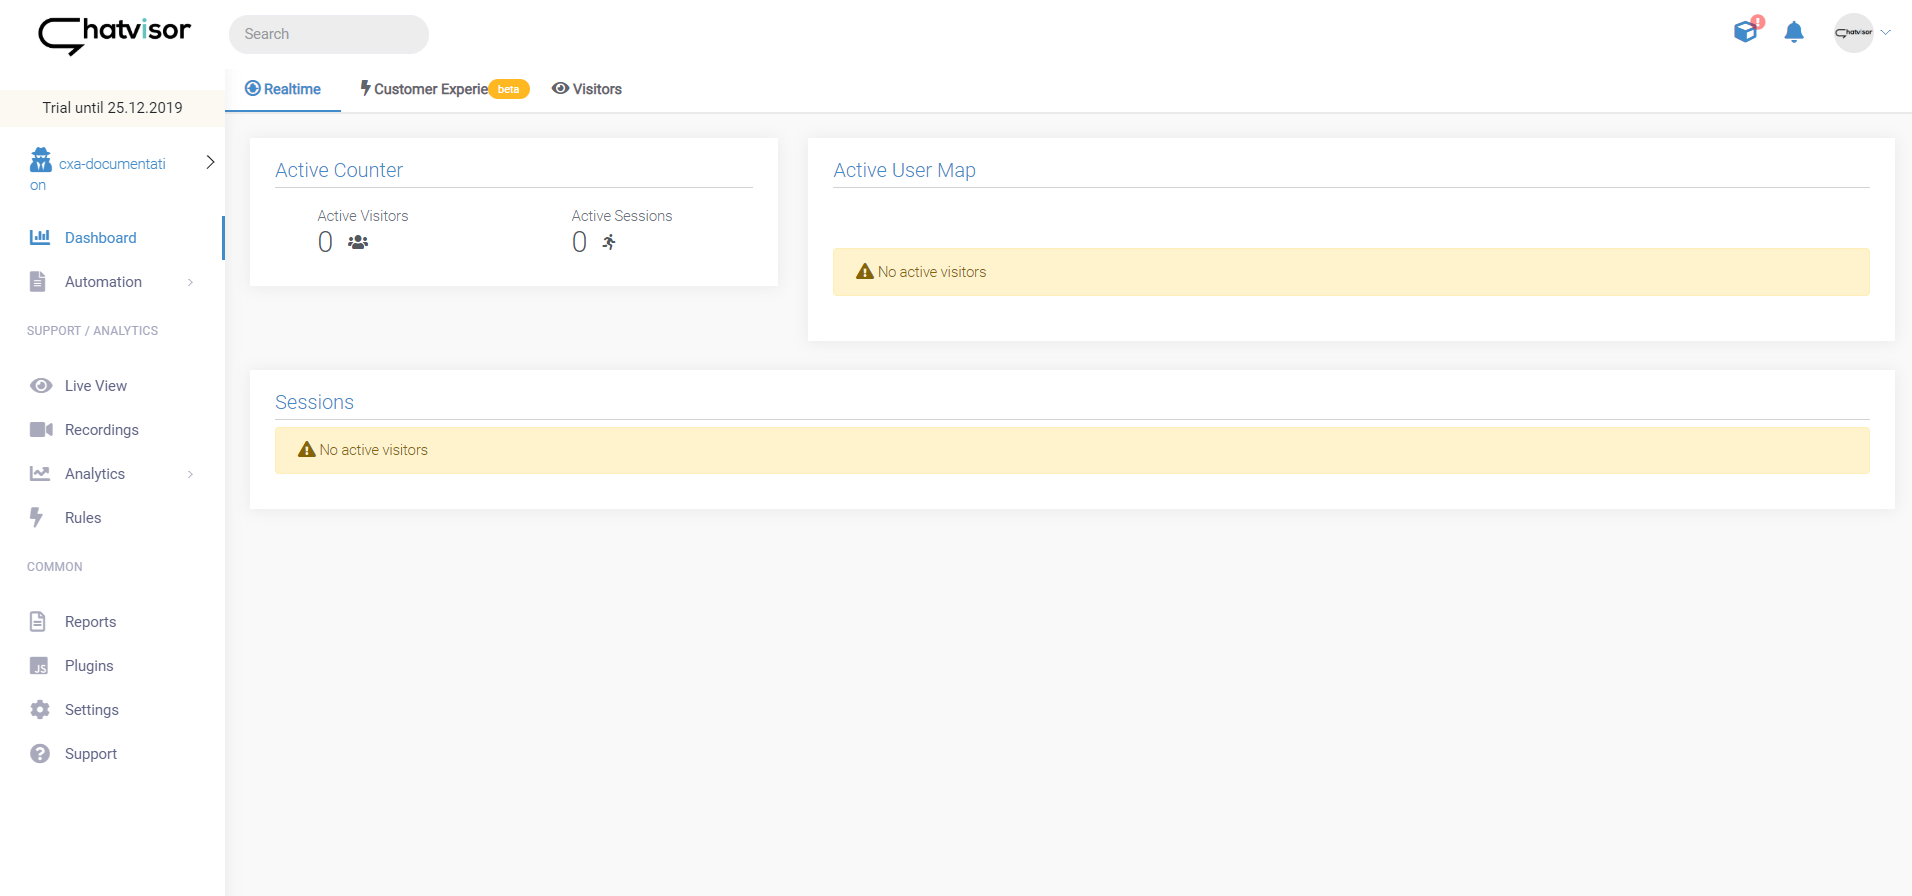
Implementation on Website (or Web App)
After completing the onboarding process, you need to implement Chatvisor via JavaScript on your website. Find your JavaScript snippet in Plugins by unfolding the WebChat or Co-Browsing/Analytics element:
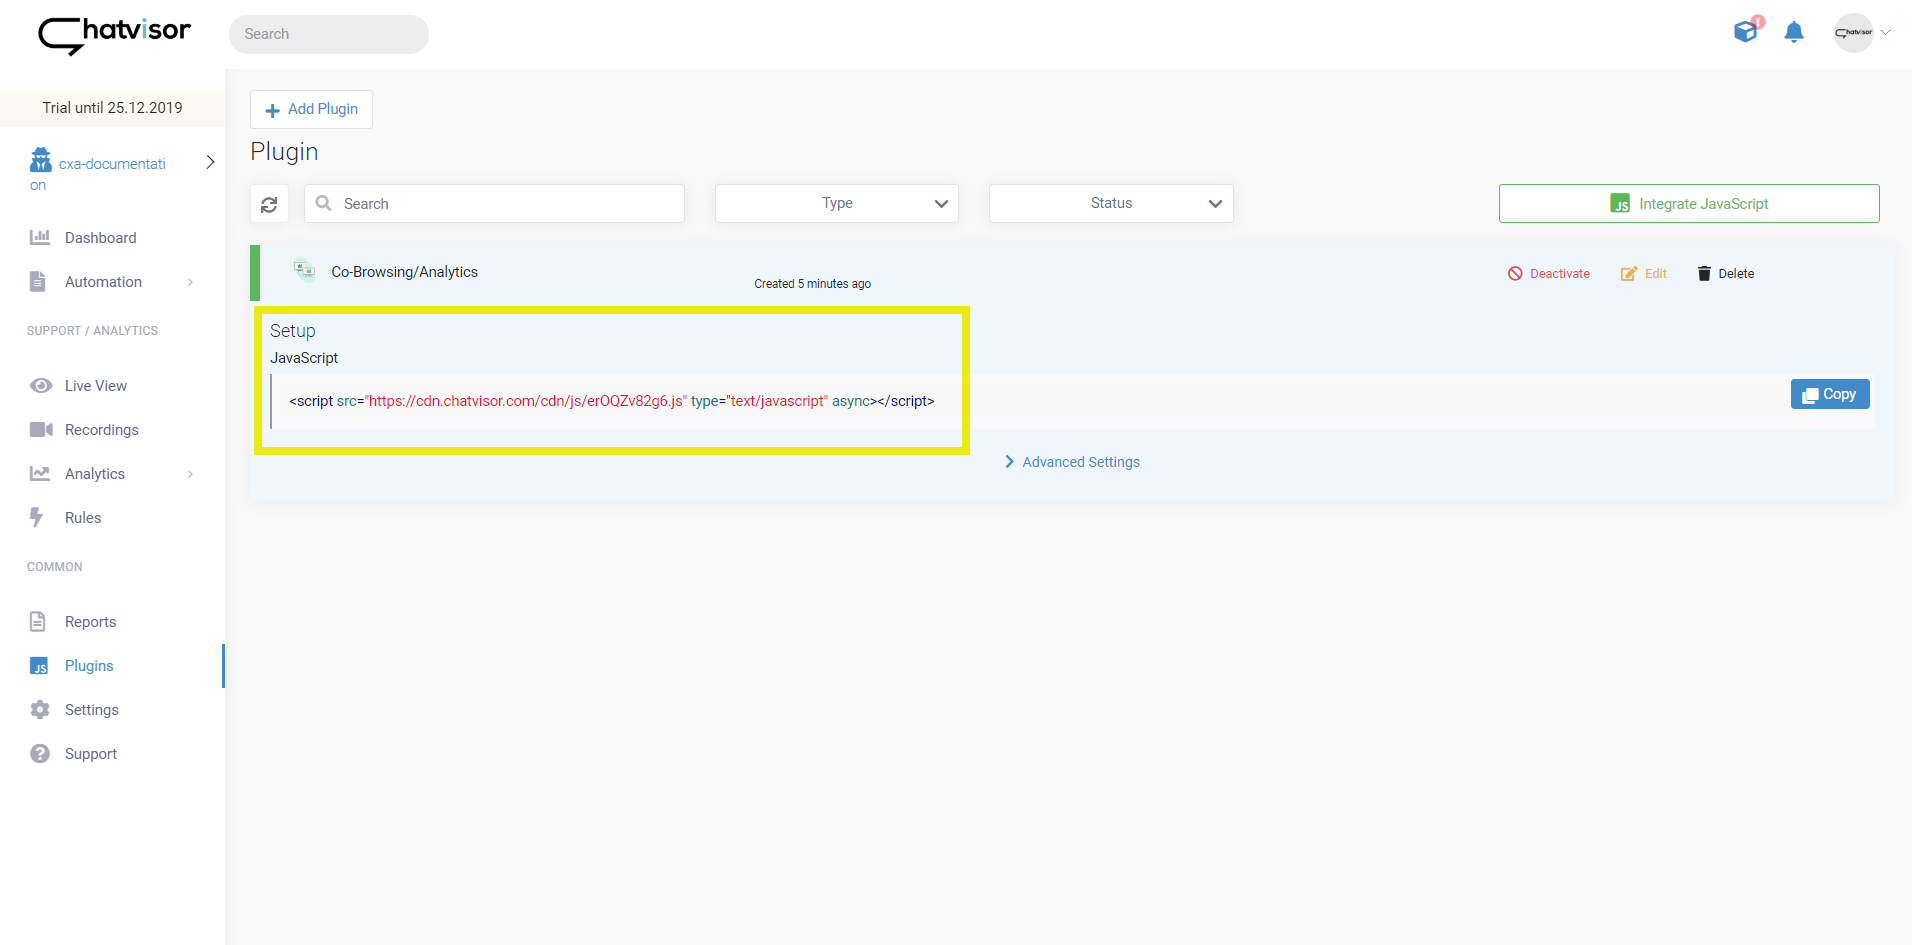
There’s one JavaScript per tenant loading and enabling all activated features on your website. Therefore, there’s no need to repeat this step when having activated more than one features or making future changes. Once the JavaScript is implemented, you can manage everything Chatvisor-related within our application.
Here’s a guide on the implementation of the JavaScript snippet: Where to implement JavaScript Snippet
