eMeeting Preparation - Meeting Links
Navigation path: Meeting Links
Purpose
With a Meeting Link you get your personal landing page that you can send to (potential) customers so they can book an appointment with you. Meeting Links can be configured, so that customers e.g. can only book appointments during a set time on specific days.
Feature description
Meeting Links can be used in two ways:
- Sharing the link via email, in email signature, etc.
- Adding Meeting Link to your/your organization's website
Your first Meeting Link
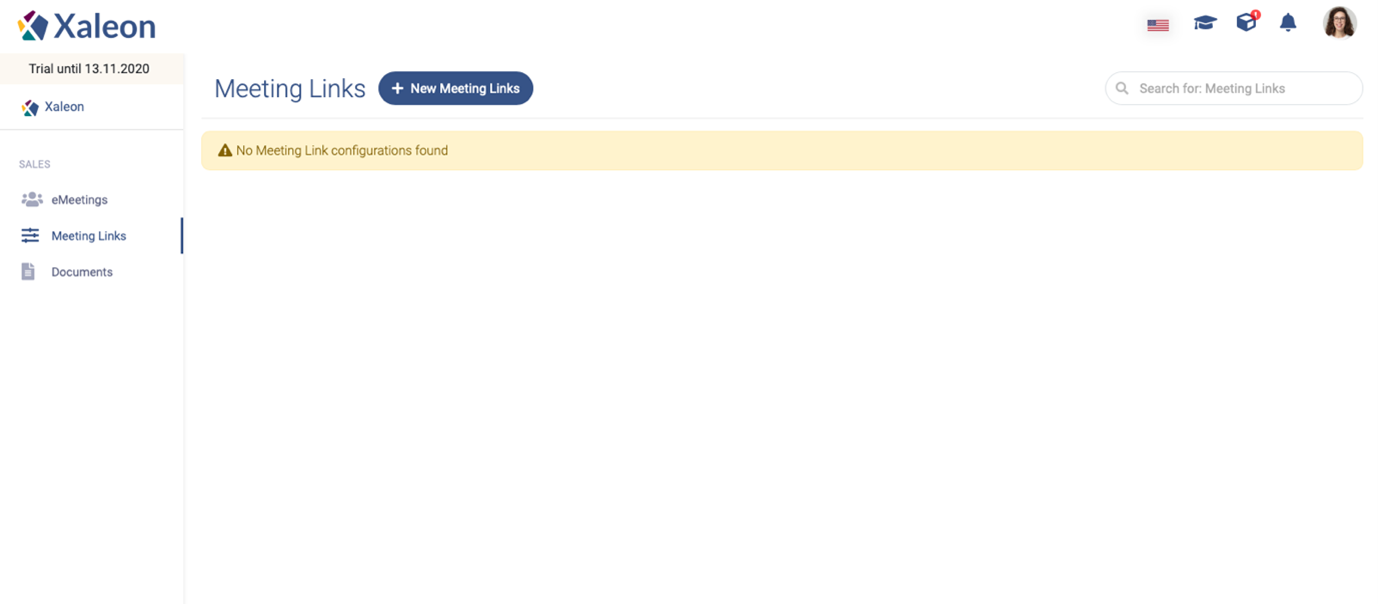
In order for this to be a possibility, you need to create a unique Meeting Link for yourself - to do so, click + New Meeting Links in the meeting links menu.
Please note: your organization's admins may set this up for you. If anything is unclear, please contact them.

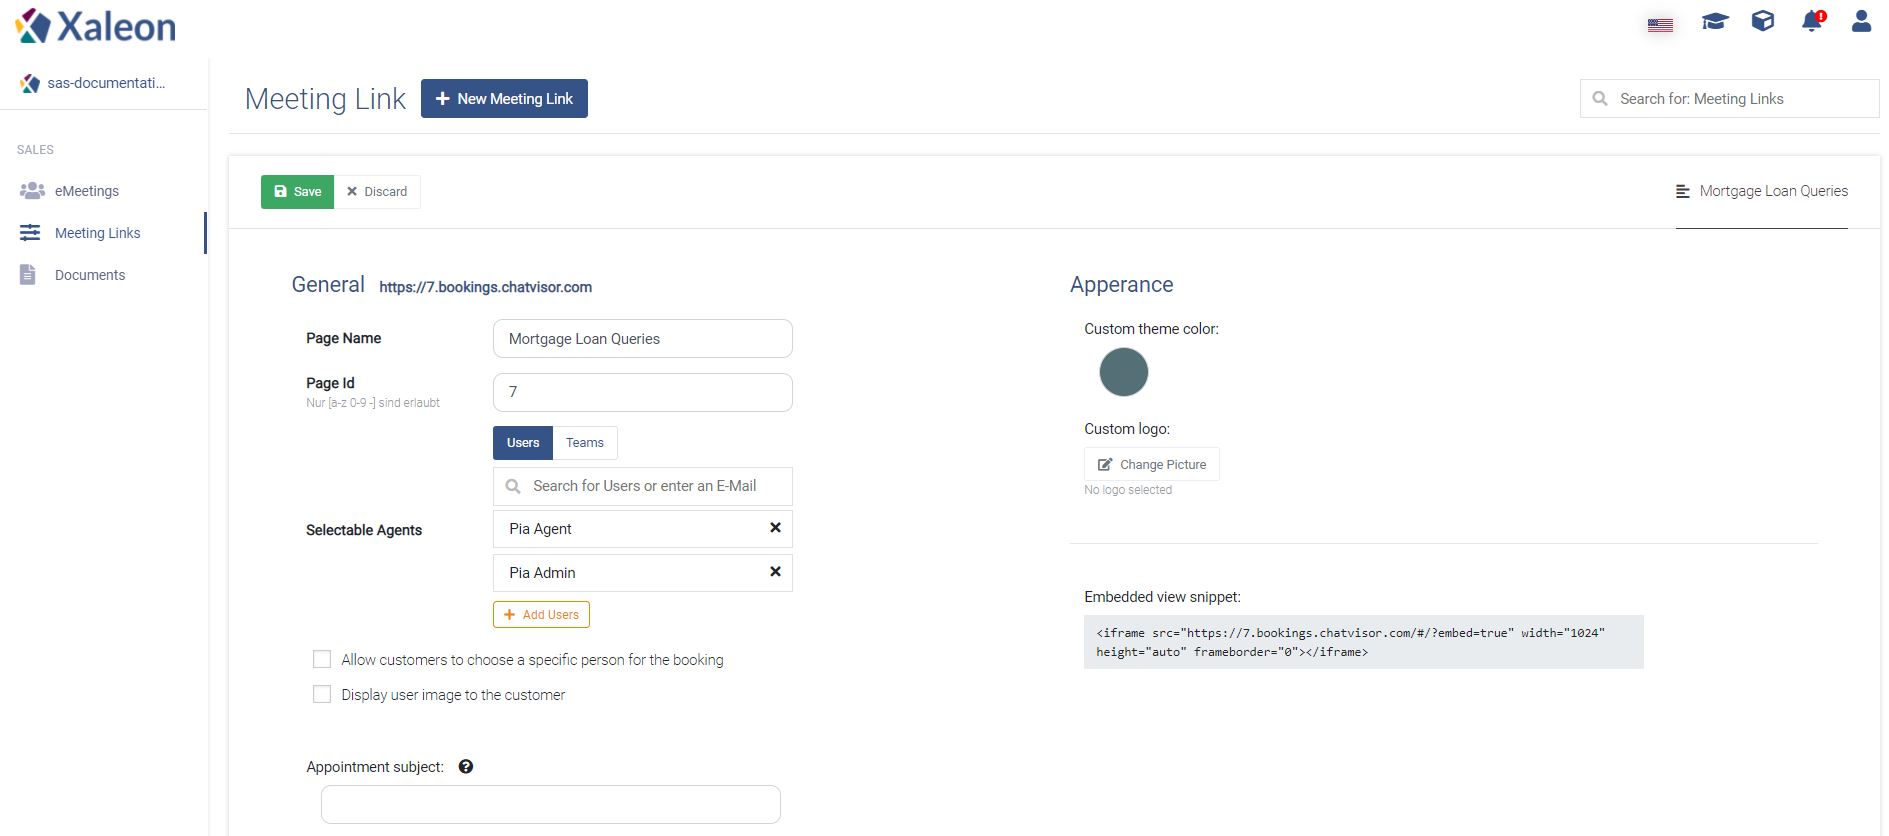
Then simply follow the steps and descriptions within the app to create your meeting link:


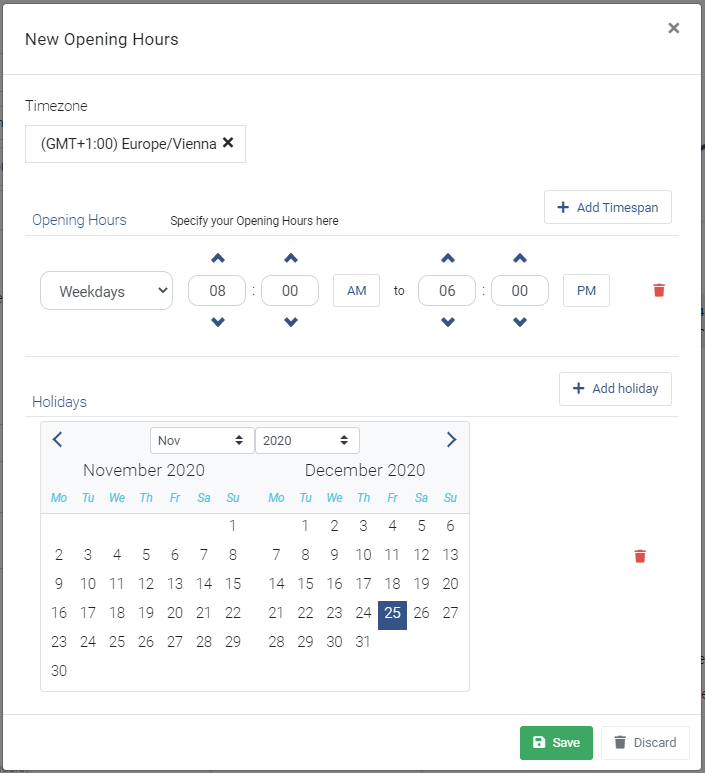
Set time frames when customers should be able to book meetings with you. To do so, click + Add in Availability Settings section:

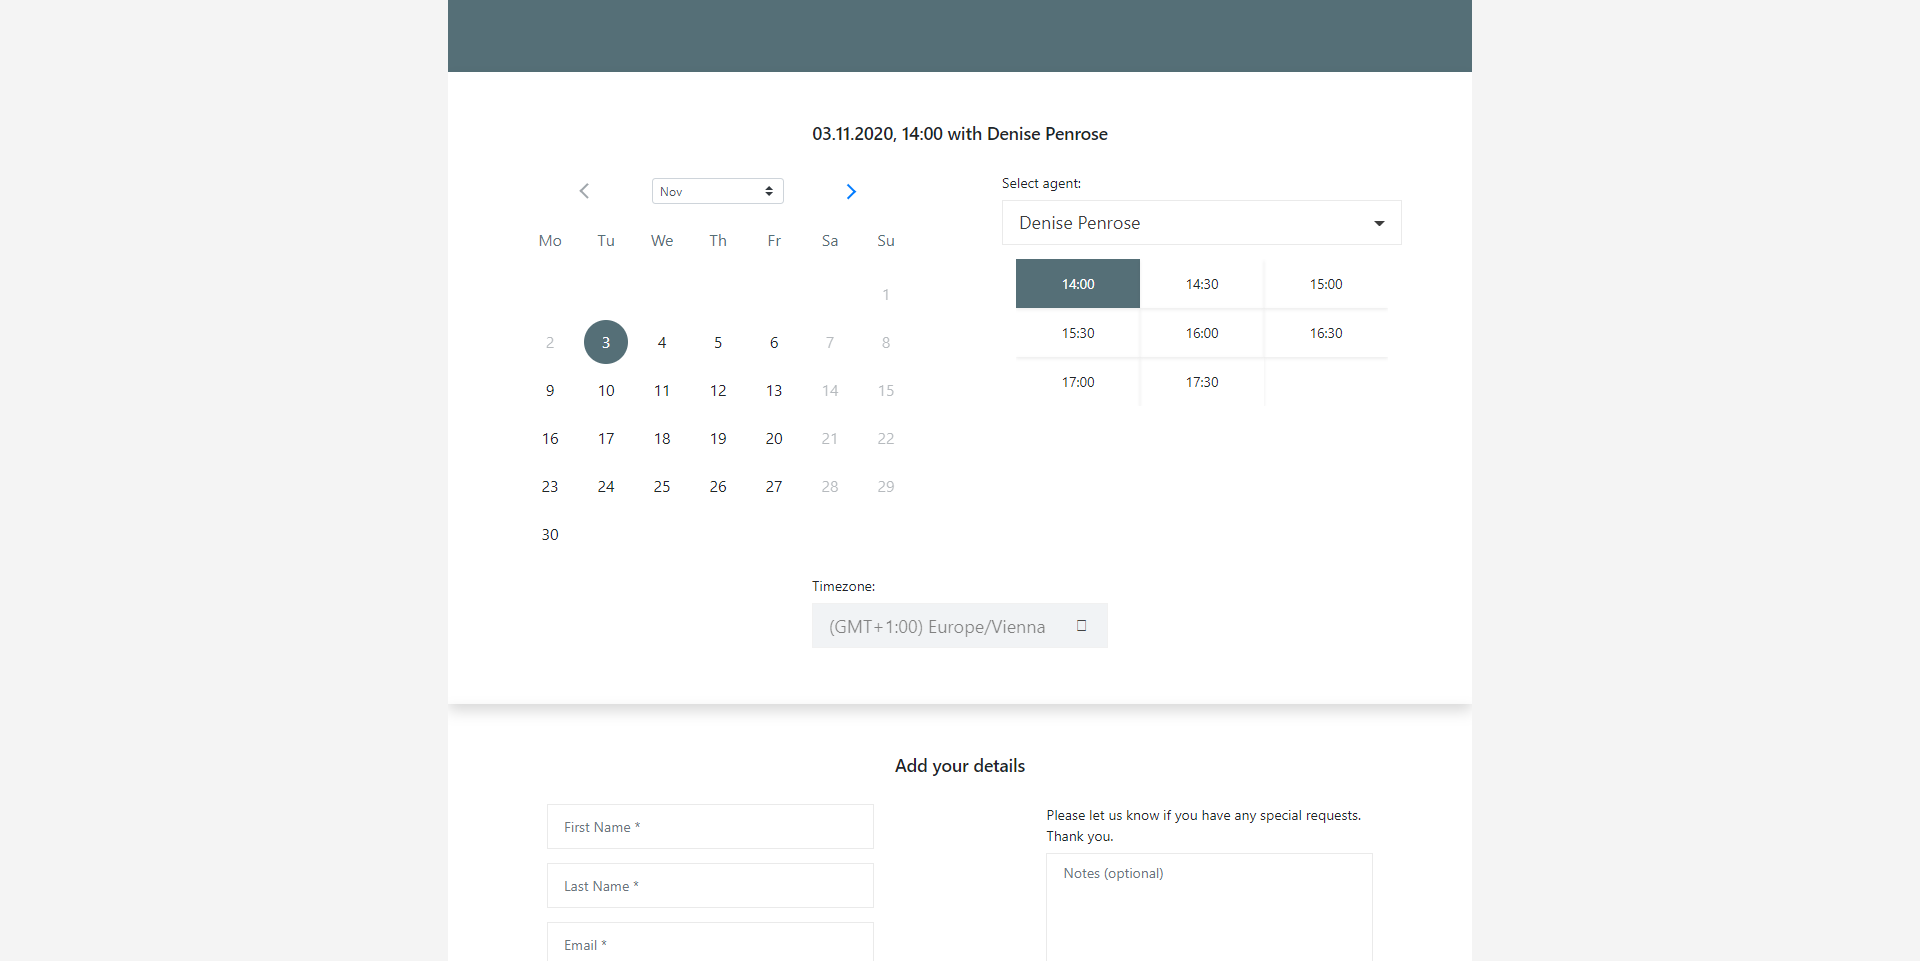
Once this is done, you can add your personal calendar link to your email signature. Leads and prospects will be able to access the times you are available and book appointments with you:

Input fields in detail
General
| Label | Description |
|---|---|
| Page Name | Internal naming for the page; not visible to the customer. |
| Page ID | A unique identifier, which will be included in the URL of the booking page. |
| Selectable Agents* | Add all agents that shall be available for customers under this booking page. |
| Allow customers to choose a specific person for the booking | This checkbox indicates whether or not a customer is allowed to choose a specific person for the meeting. |
| Display user image to the customer | A setting to enable/disable the agent’s image on the booking page. |
| Privacy Policy link | Here you can add the link to you own privacy policy. Note that there is a checkbox for the customer on the booking page to accept your policies. |
| Appointment subject | In this field the subject of the appointment is set. Furthermore, the first name, last name and note of the customer can be displayed in the text by using ‘{‘ and ‘ }‘. The keywords are ‘firstname’, ‘lastname' and ‘notes’. Example: "Meeting with {firstname} {lastname}" |
| Appointment subscription | This text area offers the possibility to add an appointment description. It features the same keywords as the Appointment subject. |
Appearance
| Label | Description |
|---|---|
| Custom theme color | Here you can pick a custom color for the booking page (in the example screenshot below, the theme color is blue). |
| Custom logo | A custom logo can also be uploaded, which will be shown at the top of the booking page. |
Scheduling policy
Here you can define, when customers can book meetings:
| Label | Description |
|---|---|
| Time increments (in min) | Defines the timespan between each available meeting slot (e.g. 08:00, 08:30, 09:00, …) |
| Minimum lead time (in h) | Defines with how short of a notice a customer can book a meeting with an agent. |
| Maximum lead time (in days) | Defines how many days forward in the future a customer can book a meeting with an agent. |
Email notifications
| Label | Description |
|---|---|
| Send invitation emails immediately after an appointment was booked | This checkbox enables/disables invite emails after an appointment was booked. |
| Send pre-meeting reminder emails | Here you can add email-reminders, which are sent at a selectable time (minutes, hours) before the meeting. |
Availability settings
You might not want customers book meetings with you at any time of the day (e.g. during nighttime). In the availability settings you can precisely restrict the time customers are able to book meetings with you. A restriction can for example be based on opening hours or holidays.
