Live Chat: Conversation Handling
Here you can learn how to handle conversations in the Live Chat.
Handle a new conversation
In this section you can learn how to optimally handle an incoming conversation.
New Conversation
Whenever a new conversation comes in (and the Live Chat window is currently not selected) you will receive a notification and hear a special ringtone.
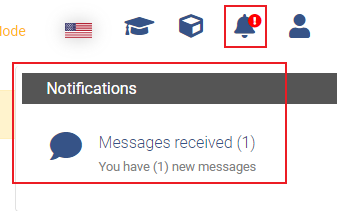
You can open the new conversation by either:
- Clicking on the notification in the top right corner (orange rectangle in the following image) or
- By simply selecting the Live Chat in the navigation bar on the left and clicking on the new conversation (red rectangle in the following image).

Assign a Conversation
Depending on the configuration of your company, a customer either gets assigned to you directly or you have to assign the conversation to yourself.
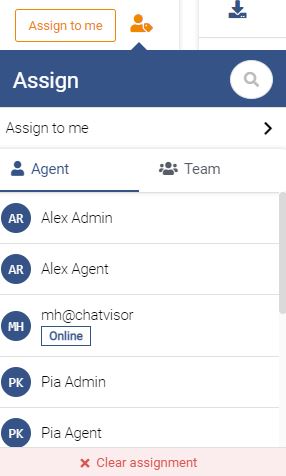
This can be done by clicking the Assign to me button in the top right corner of the Live Chat window.

A conversation can be redirected to another User or a Team by clicking on the orange icon next to the Assign to me button.
Handle the Conversation
Give your customer the best feedback and assist them via various TeamViewer Engage features like Co-Browsing
Input Field
Use of Text Blocks
By entering '#', you can search for previously created Text Blocks to answer customer requests quicker and make routine messages more efficient.

Attachments and "special messages"

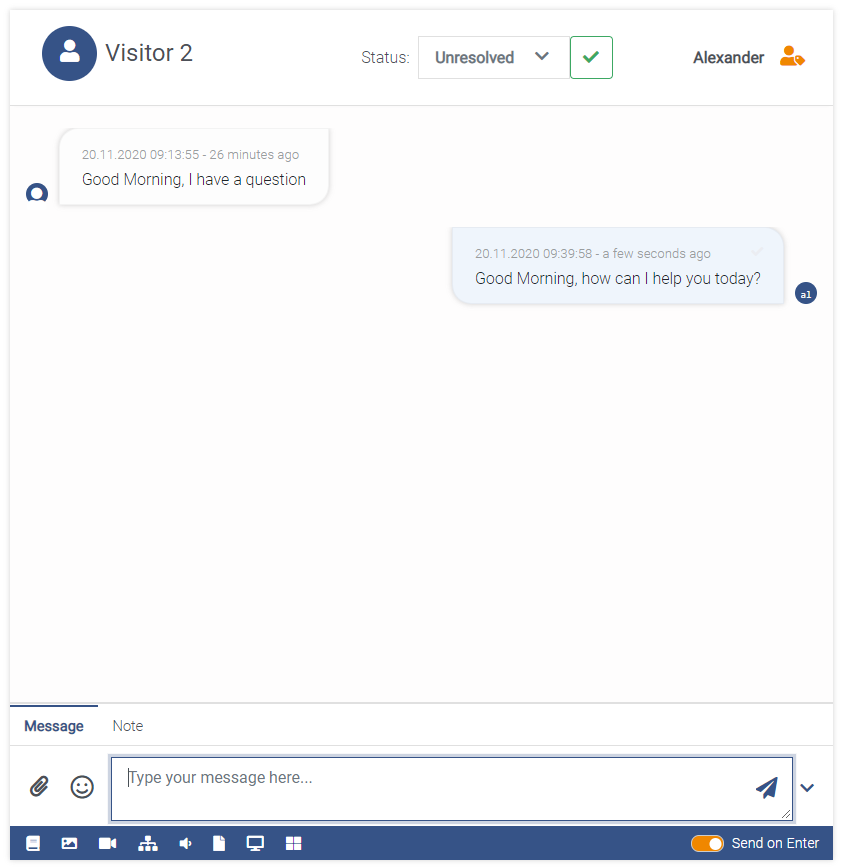
Through the bar of icons below the type-in field, you can send attachments or use TeamViewer Engage-specific features (table from left to right):
| Option | Note |
|---|---|
| Articles | Send Articles from article management in chat. |
| Image | Send images to the customer |
| Video | Send videos for better explanation to the customer |
| Flow | Send Flows to users. |
| Audio | Send audio files to the customer |
| File | Send files to the customer (no specific type) |
| Ask for Co-Browsing | Provide the customer with an opportunity to opt-in and start Co-Browsing/Agent View session. |
| Chatblocks | Send previously created Text Blocks |
Furthermore, the bar can be toggled by clicking on the chevron icon on the right side of the input field.
Ask for Co-Browsing
Ask the user to start a Co-Browsing session with you:
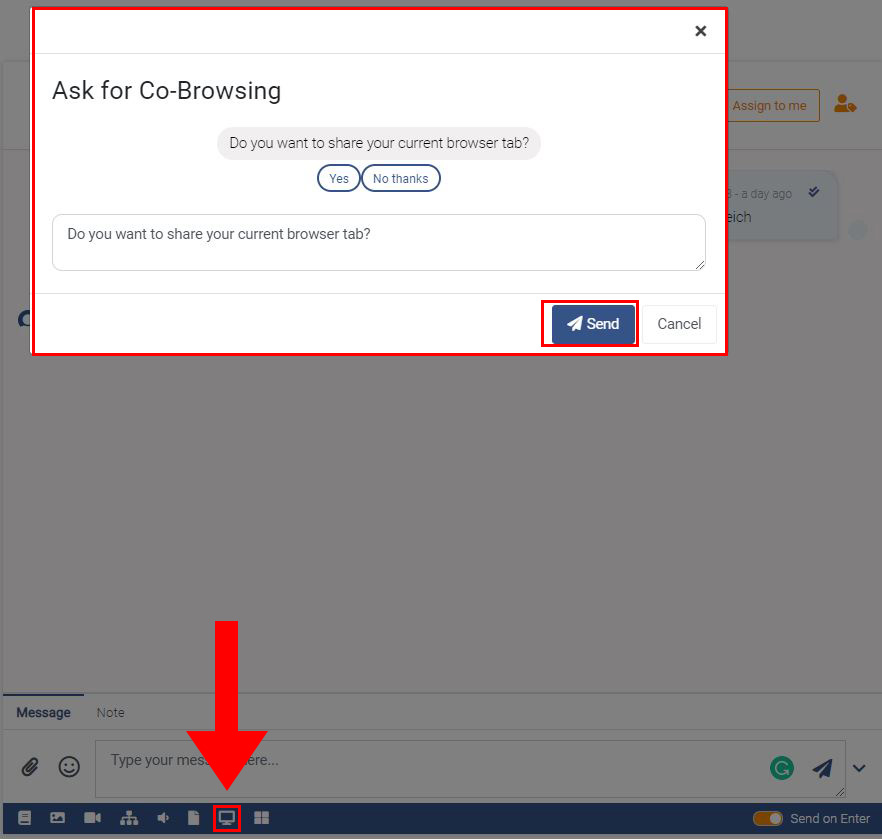
If the user accepts the Co-Browsing request, a small green indicator will show up.

You can either navigate to the Co-Browsing session via the navigation bar on the left of by clicking the red blinking icon on the right side.
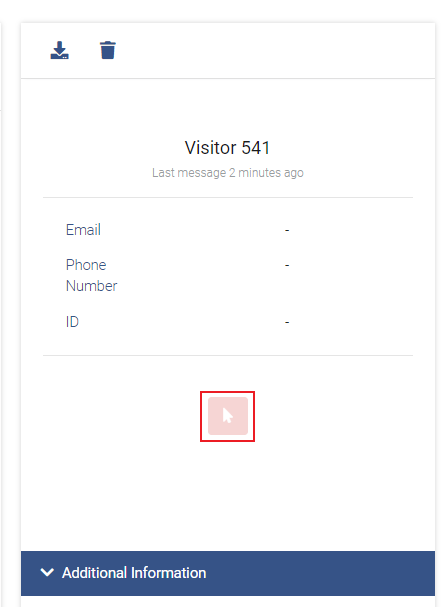
Click Co-Browsing for further information/options for Co-Browsing sessions.
Ask for a call/video-call
You can simply ask the customer to do a call/video-call with you by clicking one of the following buttons:

Ask for Desktop access
When clicking the following button, you can choose between the following two options:
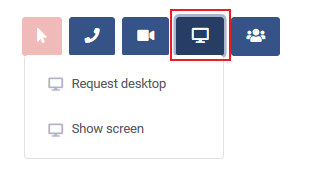
- Request desktop will request the customer to share his desktop
- Show screen will show the customer your screen
Ask for a Conference call
You can ask the customer to join a conference call by clicking the following button:

Notes
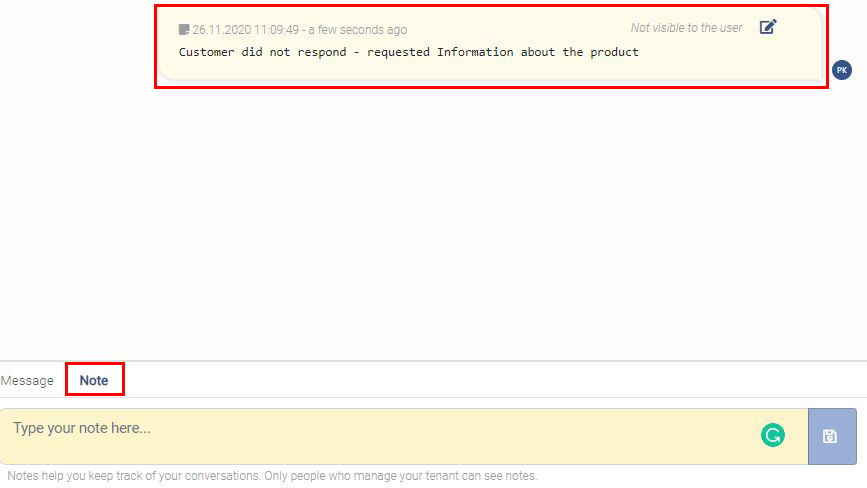
On the bottom you can switch to "Notes". Notes will be texted into the conversation, but are only visible for you and your team. They are a great way to end conversations which are not resolved allowing you to leave all information at one point.
Resolve Conversation
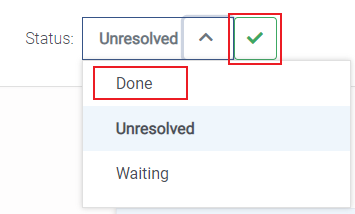
When a conversation has been handled, it should be moved to the Done section.
This can be done by either:
- Clicking on the green checkmark or
- by selecting
Donein the Status dropdown
