Integration - Salesforce
Configuration
Install the Managed Package
To use the TeamViewer Engage Salesforce Integration you are required to install our Managed Package in your Salesforce Org.
| Technical Details | |
|---|---|
| Package Name | TeamViewer Engage |
| Namespace | tv_engage |
| Package Version | 6/08/2021 |
| Package Type | Managed Package |
To install the TeamViewer Engage Managed Package go to this link and follow the instructions:
https://login.salesforce.com/packaging/installPackage.apexp?p0=04t4L000000YWfm
Sandbox To install the package in a sandbox, replace login with test
Note: The installation can take a few minutes.
Authentication from Salesforce to TeamViewer Engage
Your Agents dont require an additional login. All Authentication will be performed from the "Canvas App" via so called "Signed Requests". It is required that the Salesforce User's Email matches the Username of the Engage Platform user.
Utility Bar Items
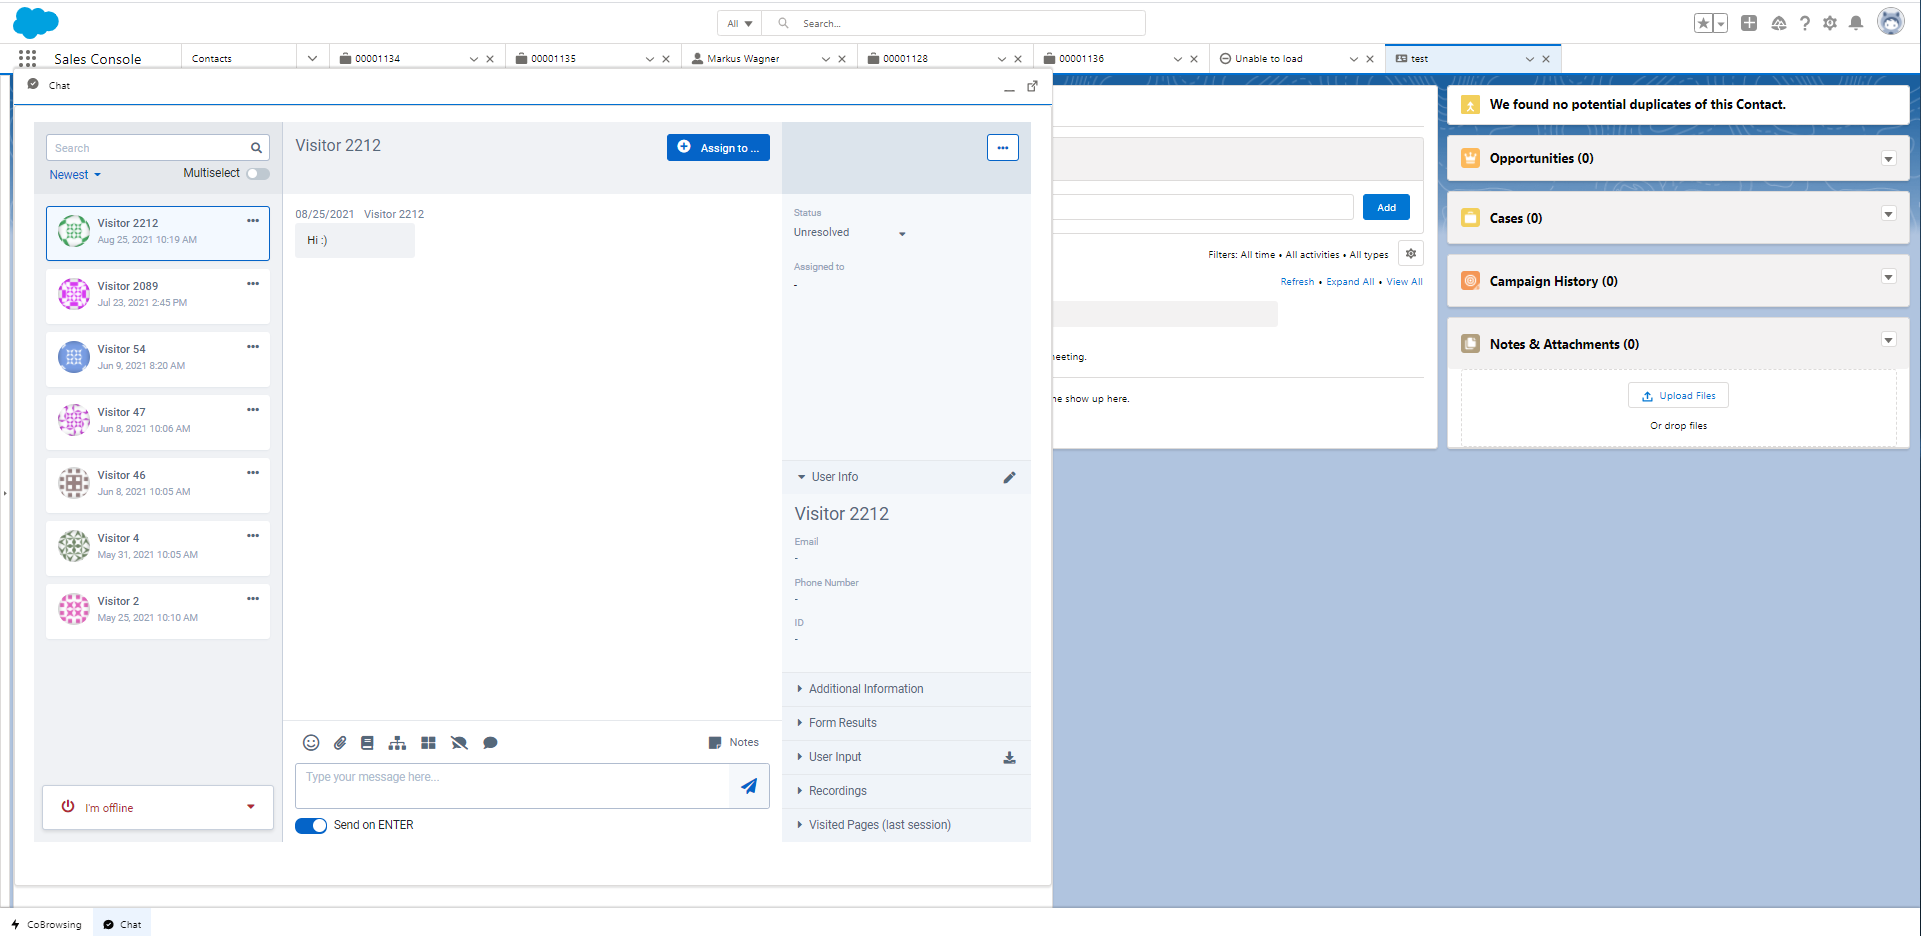
With the help of the utility bar items, TeamViewer Engage can be used from any place in your Salesforce Organisation.
The Agent can click on the icons in the bottom left corner to open either the LiveChat or the Co-Browsing View. These Views are identical to the ones the user sees when accessing the TeamViewer Engage Platform directly. The postion and look of the Utility Bar Items can be configured by your Salesforce Admin.
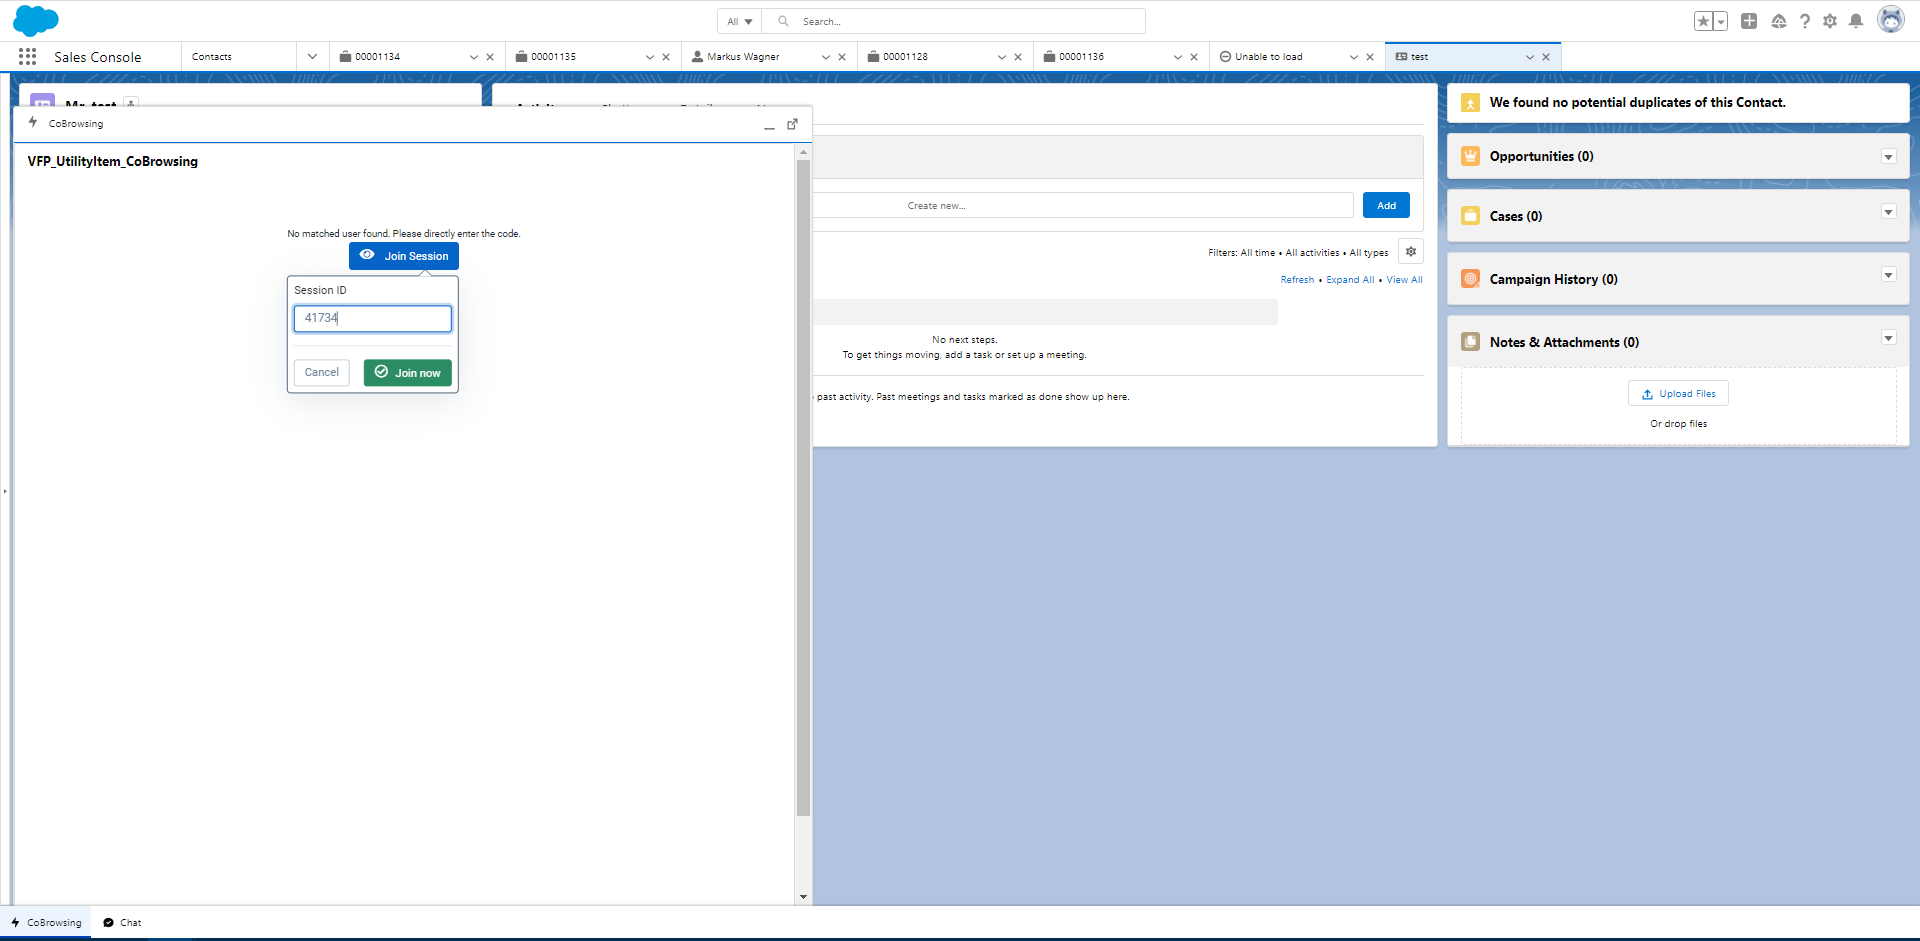
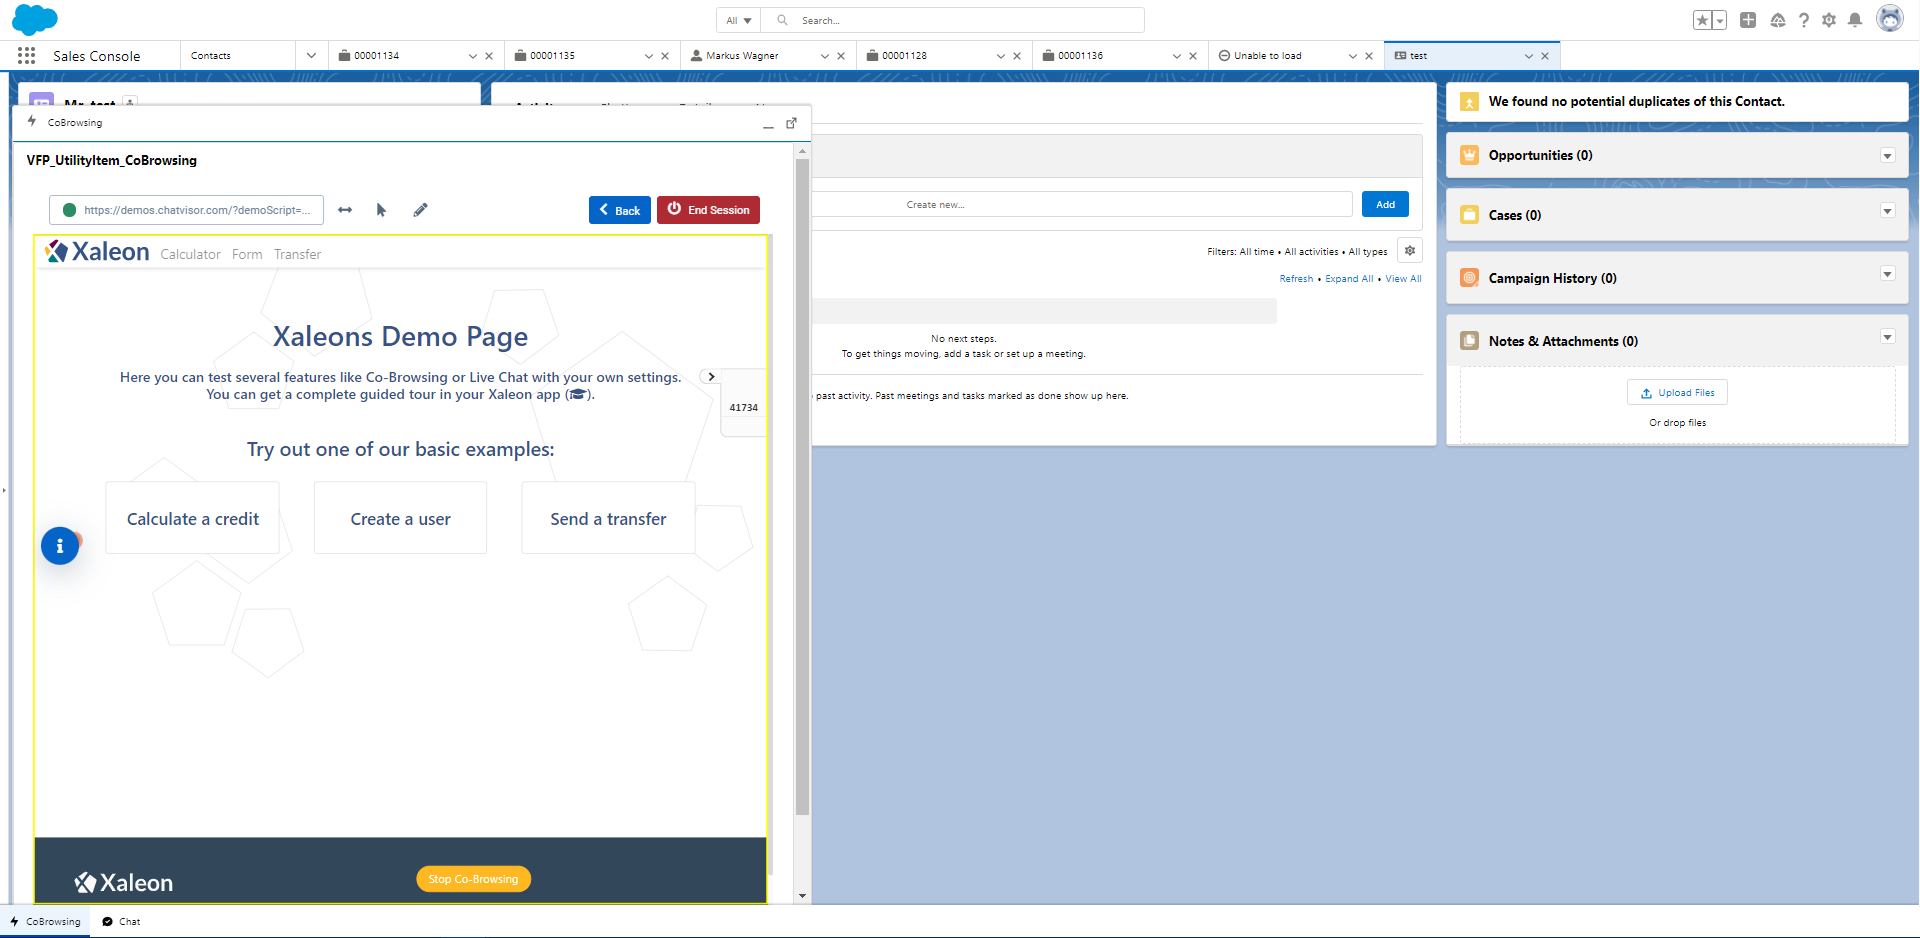
Here is an example of the Co-Browsing Page.
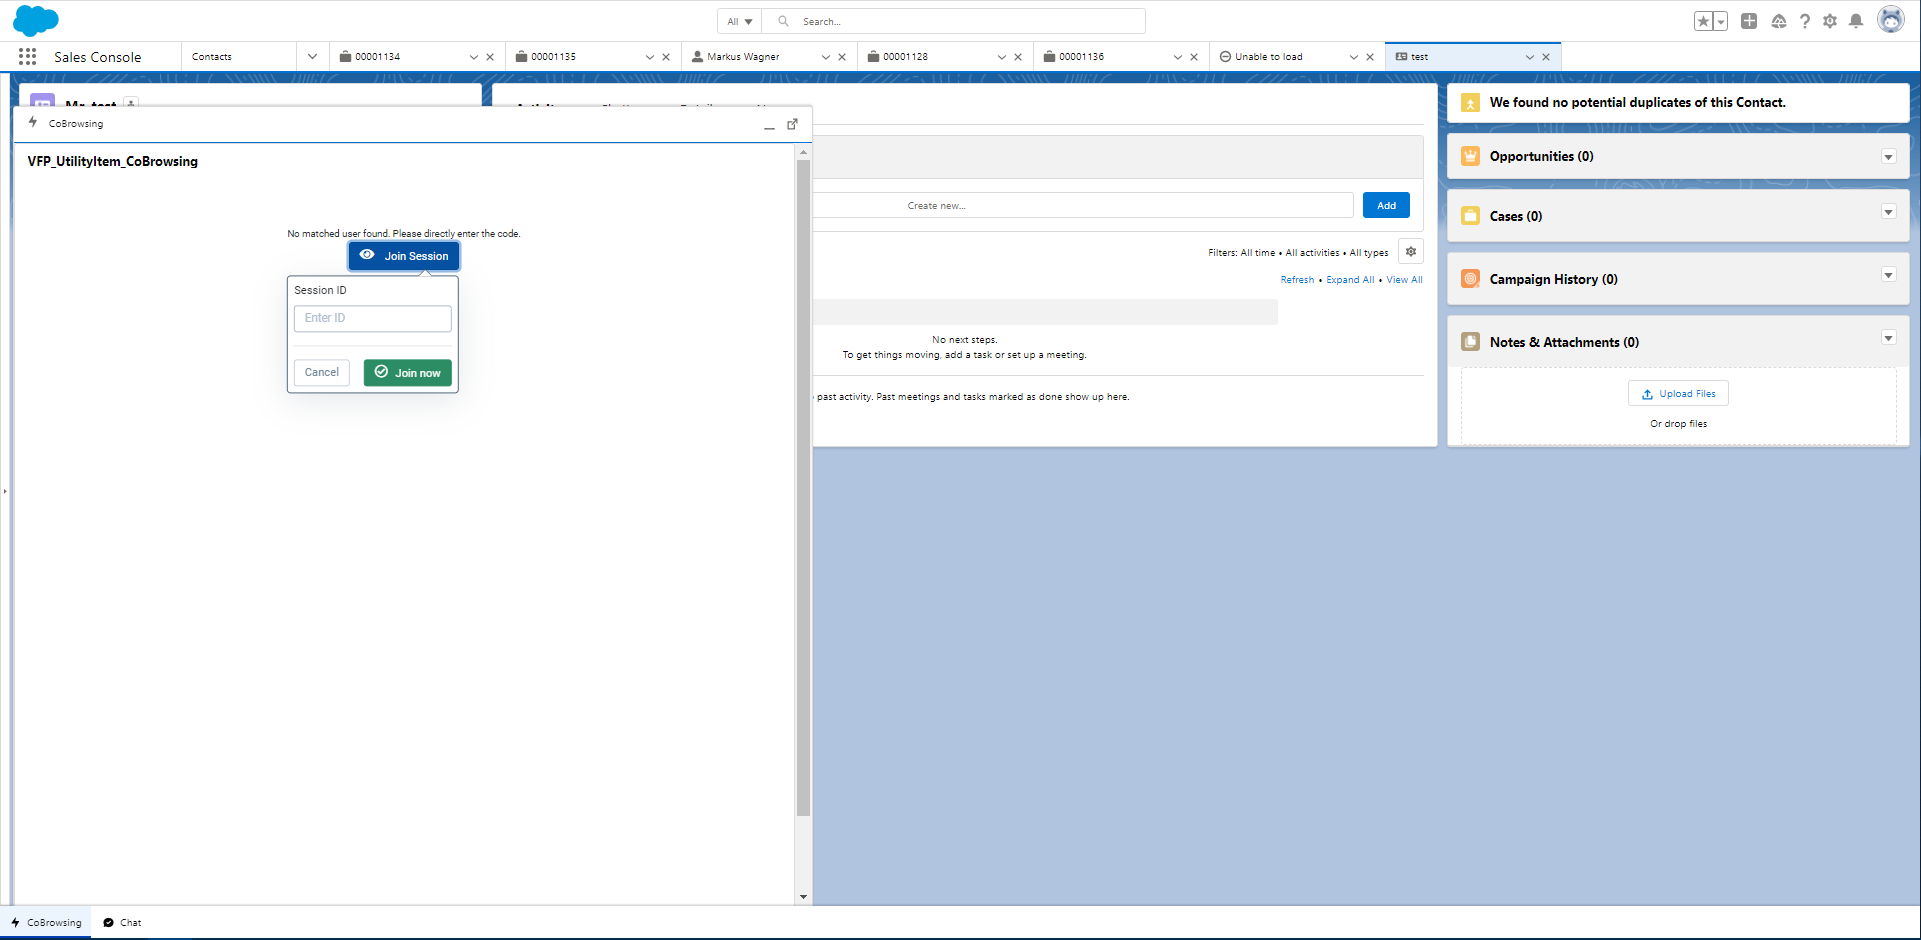
Enter the Connection ID, to connect the agent with the User.
Co-Browsing
Configuration
Go to the AppManager and select the app where you want to configure the Utility Bar Items. Go to Utlity Itemsand a click on Add Utlity Item. In the drop down menu select Visualforce. Set the value of the field to the Visualforce component you want. This is either VFP_UtilityItem_Chatfor the Live Chat or VFP_UtilityItem_CoBrowsing for the Co-Browsing Component.
There is also a setting in TeamViewer Engage Plattform that allows you to specify the height of the displayed Component. This should be about the same size as configured in the Utility Item section.
Detail Pages
Co-Browsing
You can embedd Co-Browsing directly on your Contacts Page. The Co-Browsing Session will be automatically matched with the corresponding Contact. Requirement is that the Session can be identified by a tag that corresponds to one of these attributes in your Salesforce Contact: Contact.Name Contact.Email Contact.Id. Use the VisualForce Component VFP_Contact_CoBrowsing and configure it with the help of the Lightning App Builder.
Live Chat
The Live Chat can be embedded on the Details Page of a Case. This can be useful to as means of keeping a transcript of the conversation. The right Converstation is found by using the CaseId Use the VisualForce Component VFP_Case_Chat_Match_CaseId and configure it with the help of the Lightning App Builder.
Troubleshooting
Make sure that under
Setup -> Apps -> Connected Apps -> Manage Connected Apps -> TeamViewer Engage Connectorthe fieldPermitted Usersis set to:Admin approved users are preauthorizedThe email address used by the Salesforce user must be the same as setup in TeamViewer Engage
If the error “Oops, there was an error rendering Canvas application...” appears then: go to the Connected App via the link provided and enable
User Profileswho can use the app underProfiles-> Manage Profiles
Glossary
Customeris a user who writes a message through the chat.User/Agentis the user/agent who answers the chat.ContactSalesforce object corresponding to an customer in TeamViewer Engage.CaseSalesforce object corresponding to an Webchat in TeamViewer Engage.Details Pagethe Lightning Page displaying a single record.Connected Appallows for the integration with Salesforce.Visualforce Pageto display the Co-Browsing/Live Chat.Managed Packagecollection of the components that are necessary within Salesforce.Lightning App Builderpoint and click tool to customize your pages.

